
Getting your first test set up on StatusCake is quick and easy! This guide is specifically geared towards speed, if you were after something which covers all of the options, then this would be the page you are looking for.
First off you’ll want to click the “New Test” option found at the top end on the left in-app menu, this will take you to the screen where you can enter the desired settings for your first test.
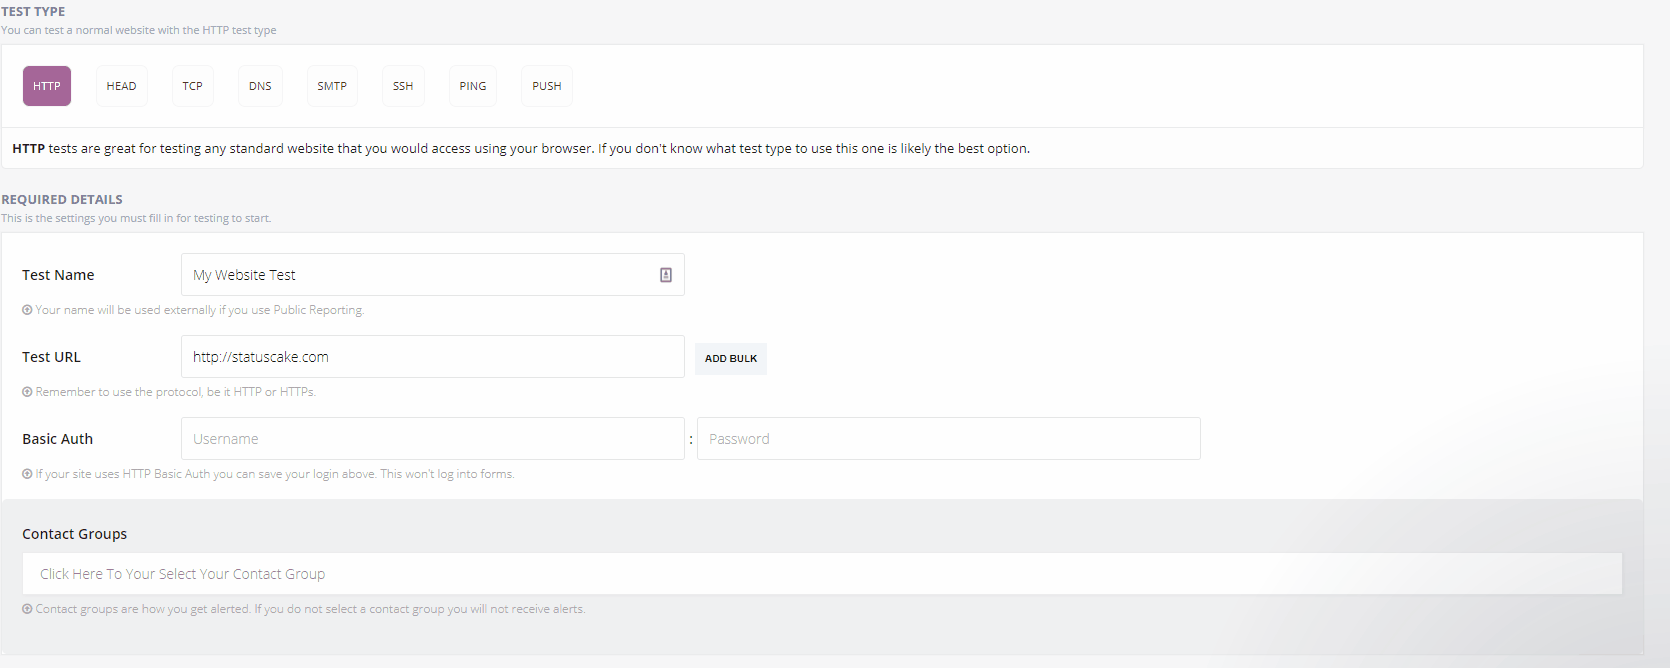 Next we will see the first set of options where we’ll be able to enter the Name for our test under “Test Name”, and the Desired URL to check under “Test URL”, finally in this section select the “Default Contact group” under the “Contact groups” field.
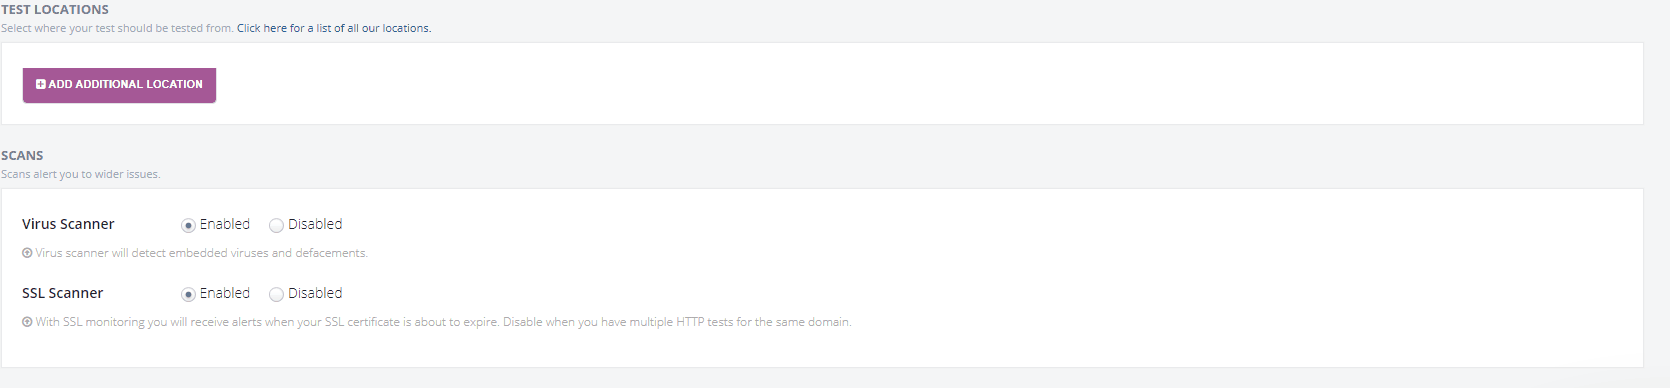 In the next section; shown above, it’s possible to select desired test locations – this can be used to restrict testing to one area, or customize where your checks come from in general for this URL.
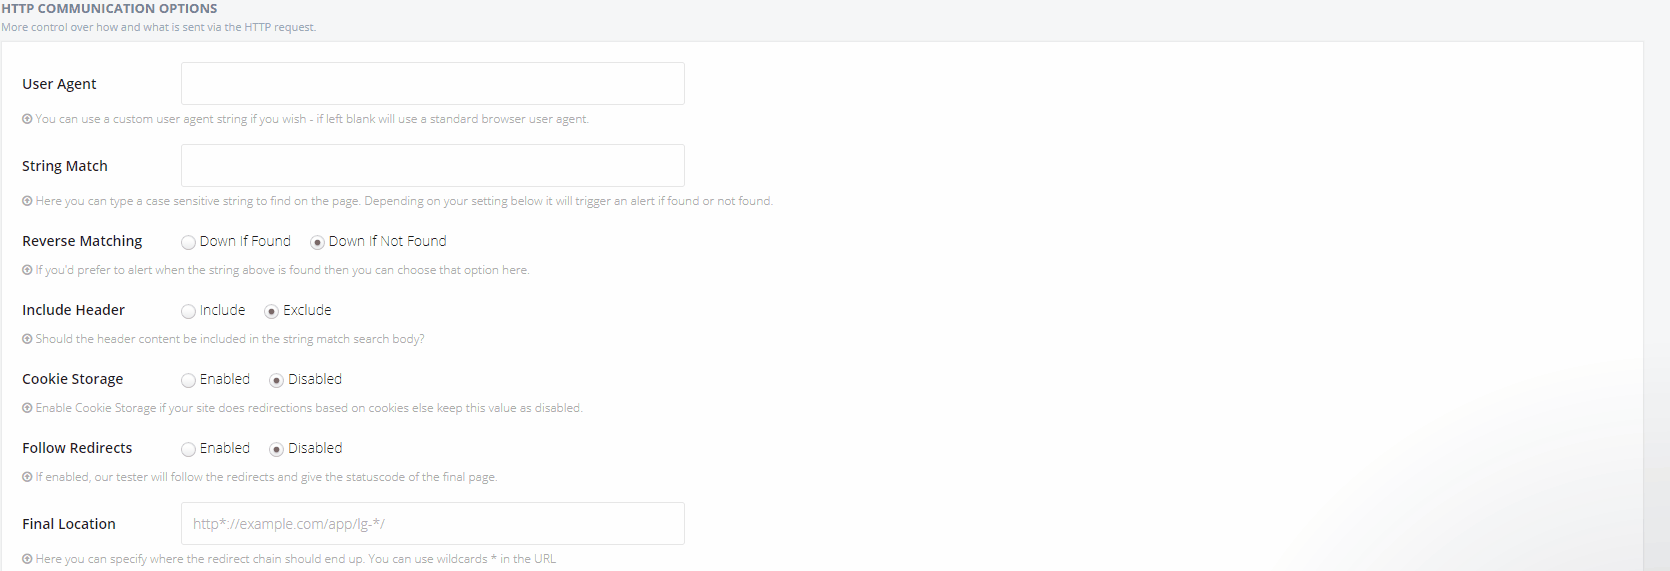 In the next part of the form we have the option to set a String Match for the tested URL, and we can set to be alerted if this is found/not found, we can select below whether to search the page header for that string too!
We also have the option here to set whether cookies should be stored, and whether redirects should be followed.
 In the next section that’s shown above, we have the option to add/remove status codes returned by the URL which StatusCake should mark as an error.
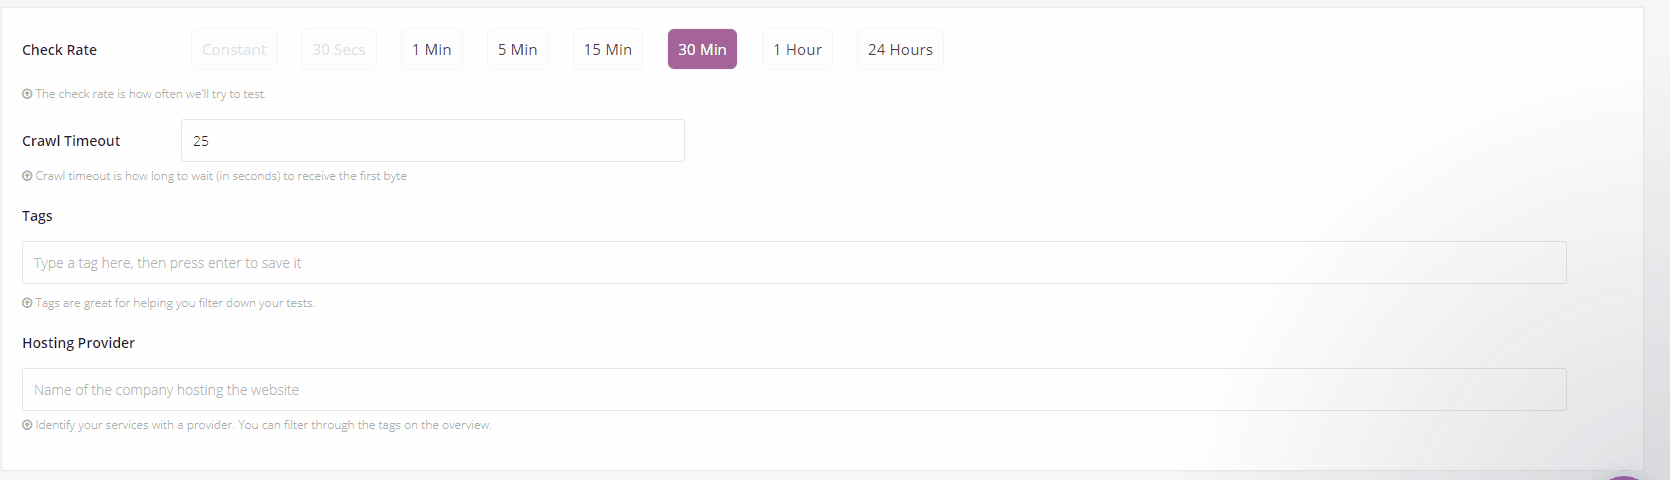 In the final section, we select the rate at which the URL should be tested with the “Check Rate” field, the desired total load timeout of the page with “Crawl Timeout”, and finally any tags for the test in the “Tags” field.
Once the submit button is clicked after that final step, the test is all ready to go! You will see it in the main dashboard and can make further edits and view the stats at will. If you want to make changes to your contact group after this process is complete, there are instructions on how to do this here.